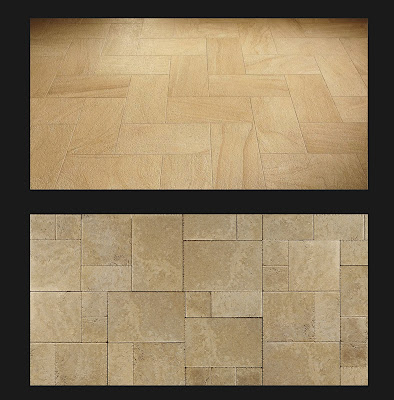
The reference pictures I decided to use
I decided to use 3dsMax for this instead of Maya because I find 3dsMax grid and coordination system a lot more reliable than Maya, after all those two are very important when it comes to make a texture tileable. So, to start off with I created simple boxes in the pattern I wanted my floor to be, I placed them so they could fit next to each other and after this they were ready to import to Zbrush.
3dsMax
In Zbrush I sculpted in the details to make it actually look like sandstone. I also used the noise tool to give it a bit of texture.
Render from Zbrush
Now when the sculpting was done it was time for baking. Now I used the same method as I used for the scales back in BA2. I made a simple square plane and placed it beneath the sculpted floor. I placed the floor tiles so it covered the whole square and also gave them different colours so I could easily select the different stones in Photoshop using Magic Wand tool.
I then baked it using xNormal, when the bake was done it was time for texturing. I imported the bakes to Photoshop and used the AO map and a mix of textures from CG Textures to achieve the result I wanted.


No comments:
Post a Comment