For my first study I decided to take it all the way to a game ready asset. This meant creating a High poly model to later turn into a optimized Low poly, then onto baking and finally texturing. As reference for my first asset I choose a Gothic doorway with a pointed archway from a building in Edinburgh.
Reference for my first asset
Ref: http://nub4sh.deviantart.com/art/Medieval-Door-171559179
I choose this doorway because it included some of the things I had researched about, such as the pointed archway. It was also small enough to let me create the study quickly but still make it into a game ready asset.
When I had my reference sorted it was time to create the High poly model, for this I mostly used edge extrusion and primitive shapes. I prefer starting with the High poly to later make the low poly because it gives me full freedom in the beginning of the creation process to later think about optimization etc. I do have the low poly in mind when creating the high poly tho, such as when I made the doorway I knew the door itself would just be a flat plane so I could add lots of detail to it without any performance impact. I decided to create the wall itself into just simple blocks to later sculpt in Zbrush.
High poly before sculpting details in Zbrush
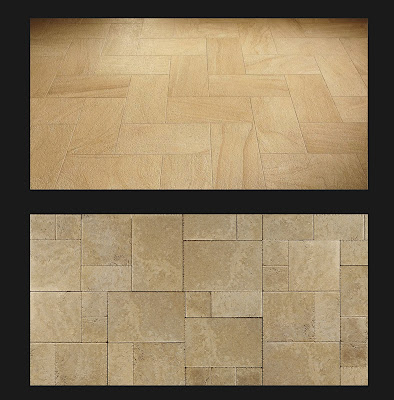
In Zbrush what I started off with was to sculpt the wall, I found the wall texture on the reference photo very uninteresting so I decided to find reference on a wall I found interesting and also was using the same material, in this case Sandstone.
Reference for my wall
The wall is now sculpted
Since the scene will be very small I decided to add a lot of weathering to it to make it a bit more interesting.
To make the scene even more interesting I wanted to add some sort of medieval torch to the scene to give additional light sources. So I quickly made one in Maya and sculpted in fitting details in Zbrush.
I also added some weathering to the archway itself and damaged the pillars. I had to be very careful when damaging the pillars because to make the silhouette look good it meant adding more polygons to the low poly.
Picture of the finished HP sculpt
Now with the High Poly done it was time to create the Low Poly. I created the Lowpoly mostly by cleaning up the High Poly by removing a lot of loops etc, also I decimated some parts in Zbrush and merged them into my Low poly. However, decimation can lead to some very messy topology so by some feedback given on the Crit sessions I cleaned up the decimated parts alot and here is the result.
And here is how the final Low Poly model looked including the baked Normal and AO maps which I made using xNormal.
When I baked this model I also took the time to compare different baking softwares, I will make a blogpost about this test.
Up next was texturing stage. I was thinking about using Physically Based Rendering for this model but I decided to do that for my final instead. First I tried to fit it all into one single texture but because of the details on the doorway are very small compared to the rest of the model they became very pixelated and blurry. Therefore I decided to create two textures for this model. For the torch I went with very simple Physically Based Rendering texture as a small practice for my final model.
The textures were made using Photoshop, I did some further normal detail using Pixplant for the rocks.
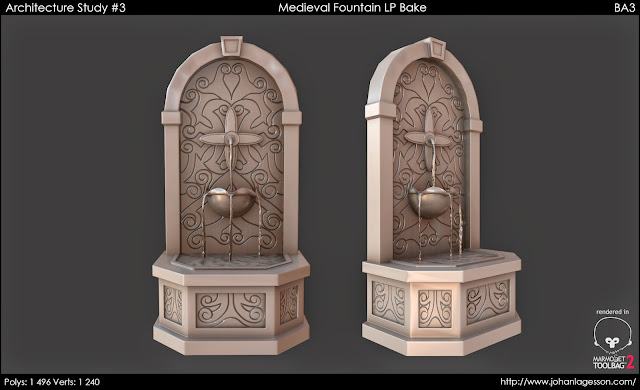
For my final beauty renders I used Marmoset Toolbag 2.


