Final Sculpt Progress
With the right pose figured out, i turned it into a Polymesh 3D and started to sculpt my final gargoyle. I will now show my progress on how i reached the end result and also any problems that accured on the way.
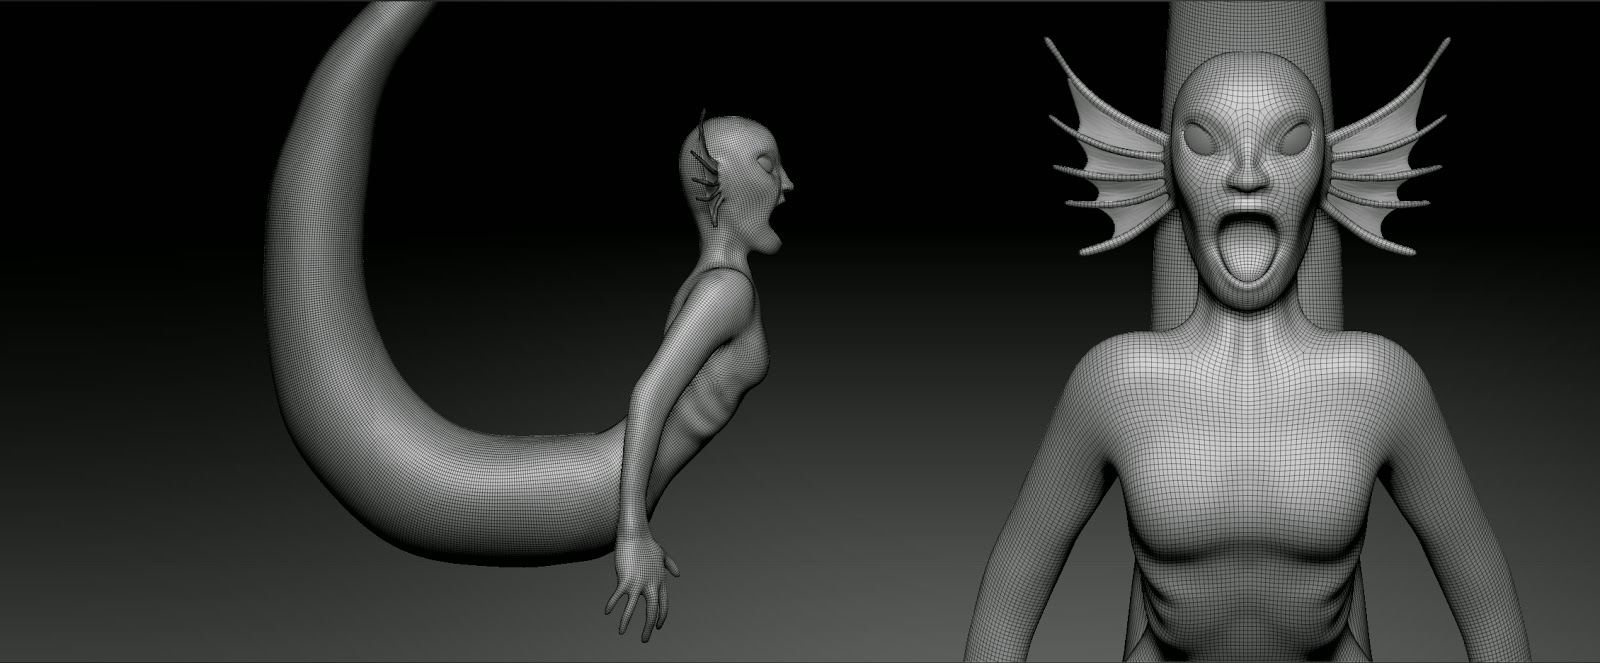
First off is the result when I turned my Zspheres into Make into Polymesh 3D. I after that started off by adding basic shapes and try to get the silhouette right with as few polygons as possible.
I gradually added more polygons, refined shape. After that I got the features in place. (Nose, Mouth, Eyesockets, Ribcage, etc.)
After that I created tissue for her tail and ”ears”. I created another blog post about how I created this. It can be found here.
And after that continue working on it by using subdevision.
Before Zremesh, current Polycount: 944 654
After Zremesh, new polycount: 96 429
Now, by working with subdivisions I added more refinement to the face. I also added more detailed facial features such as teeth and a tongue.
I thought that the tail on my mermaid was too big and grabbed too much attention away from the main figure itself, so I decided to recreate it.
Old tail fin
New tail fin
I got some feedback on the fingernails on that they were too long and not sharp enough so I decided to remake them. Here is a comparison shot.
After receiving some critique I adjusted some parts of her face, moved the jaw back a little bit etc. I also decided to remake her nose and eyes because she didn't feel monstrous enough.
Old
New
When I revamped the nose and added more detail to the face the topology got a bit off, so I decided to Zremesh the face for a 2nd time. I froze the subdevision levels and masked off the area I wanted to Zremesh. The result was a much better and correct flowing topology.
Old Topology
New Topology
After this I continued to polish, added the platform and also a placeholder wall to see how it would look in place. Added hair and adjusted her according to feedback I got both from critique sessions and also the tutors and friends.
After adding the scales I kept polishing it and also added the water tube. I later decided to remove the wall because it blocked the view from behind. I now felt satisfied with my high poly sculpt and moved on to create a lowpoly and UVW Wrapped it using UV master. The texturing process I will show in another blog post.


No comments:
Post a Comment