Thursday 18 May 2017

BA3b - Week 13 Summary/Self Evaluation


BA3b - Week 13 Summary and Self Evaluation

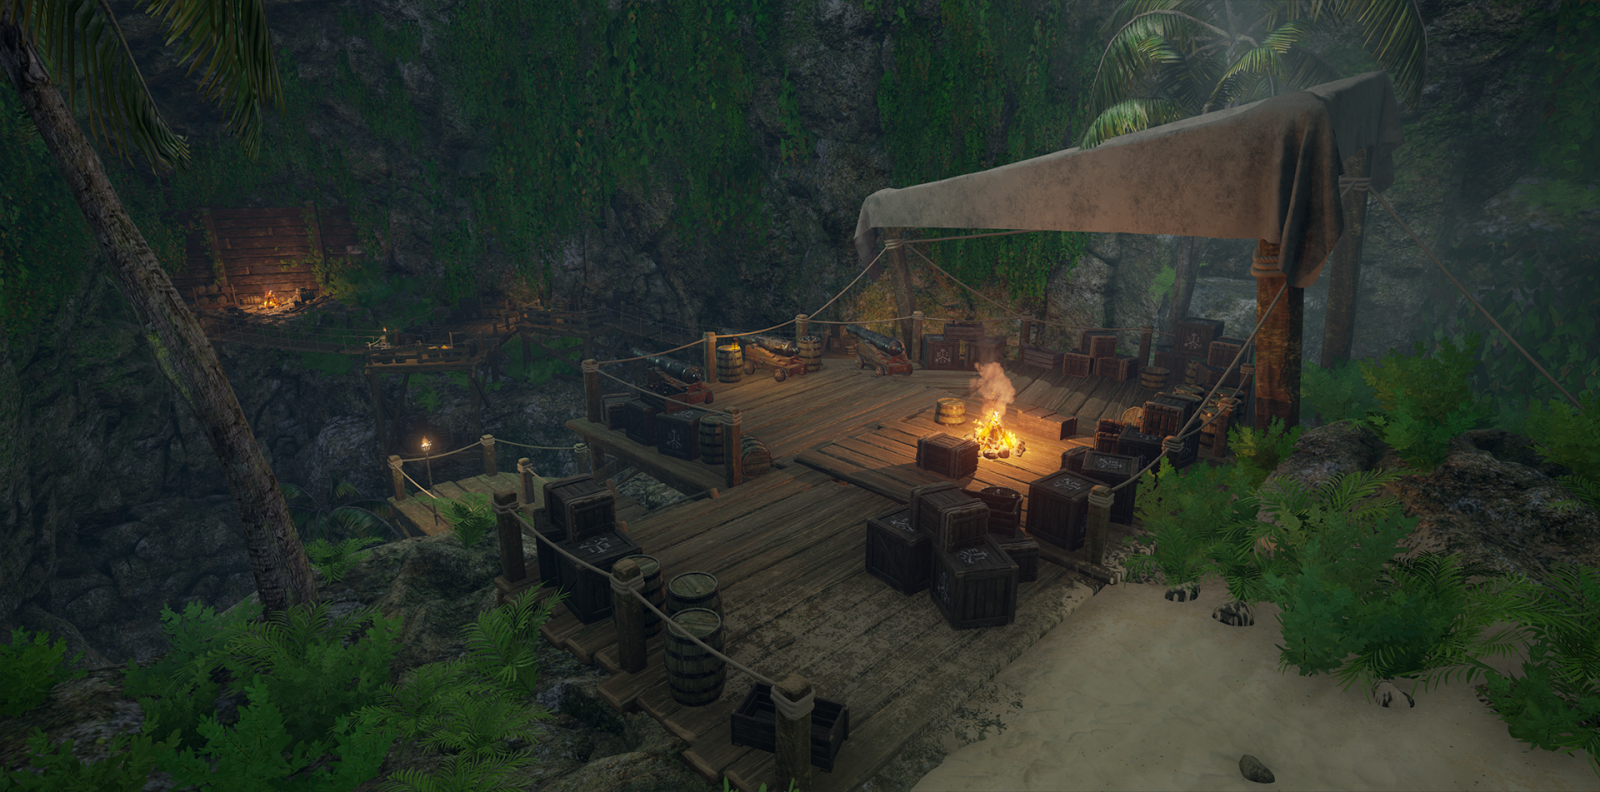
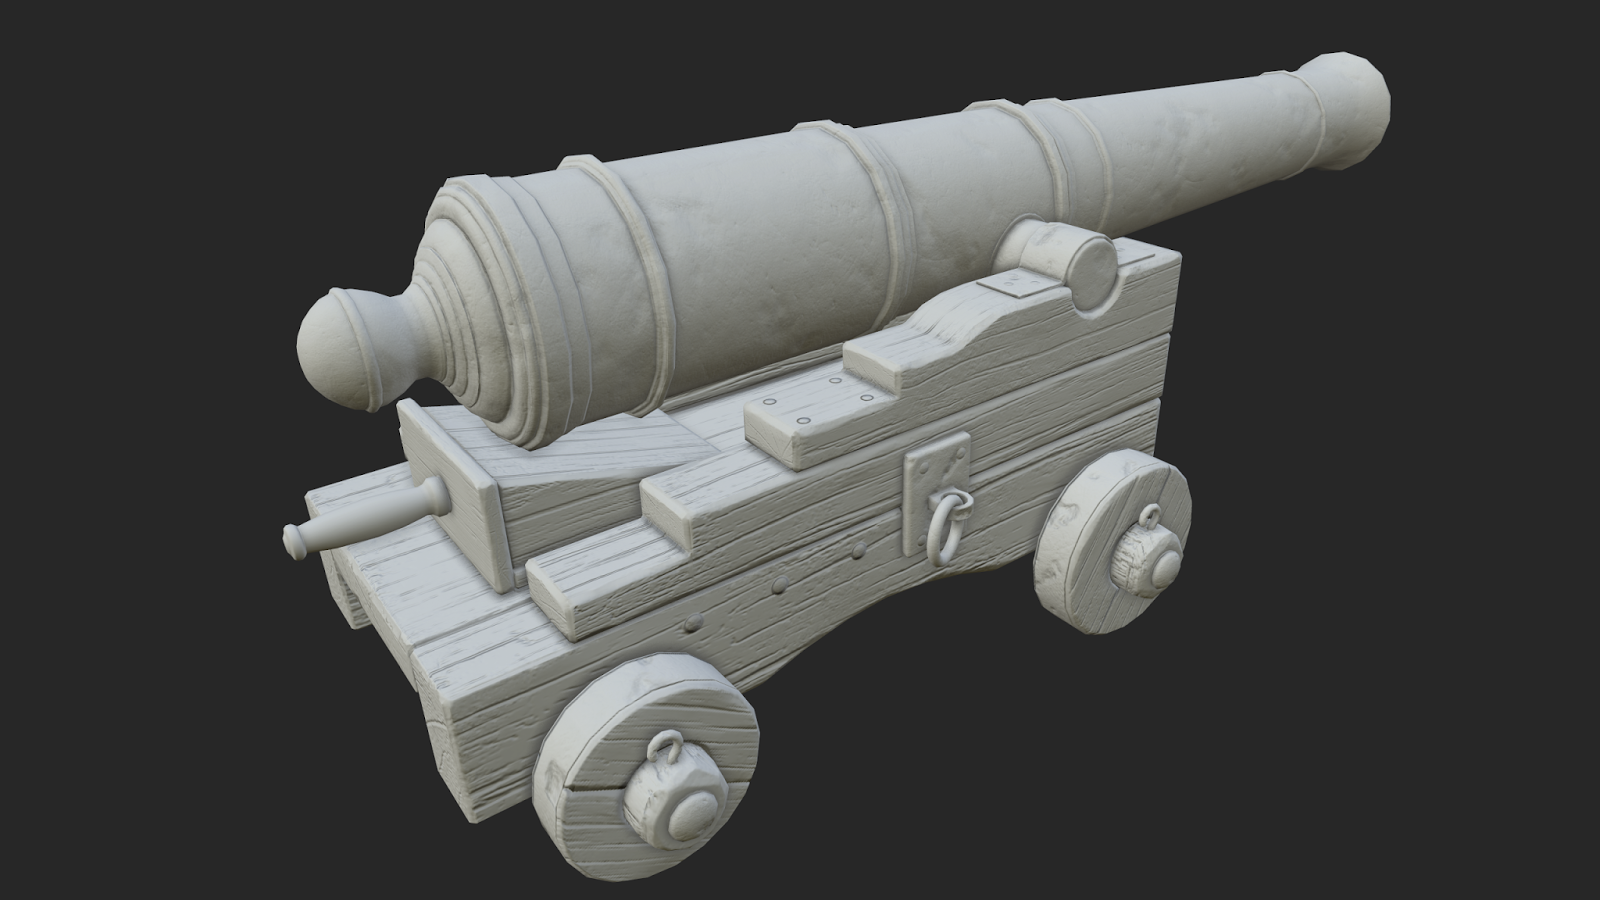
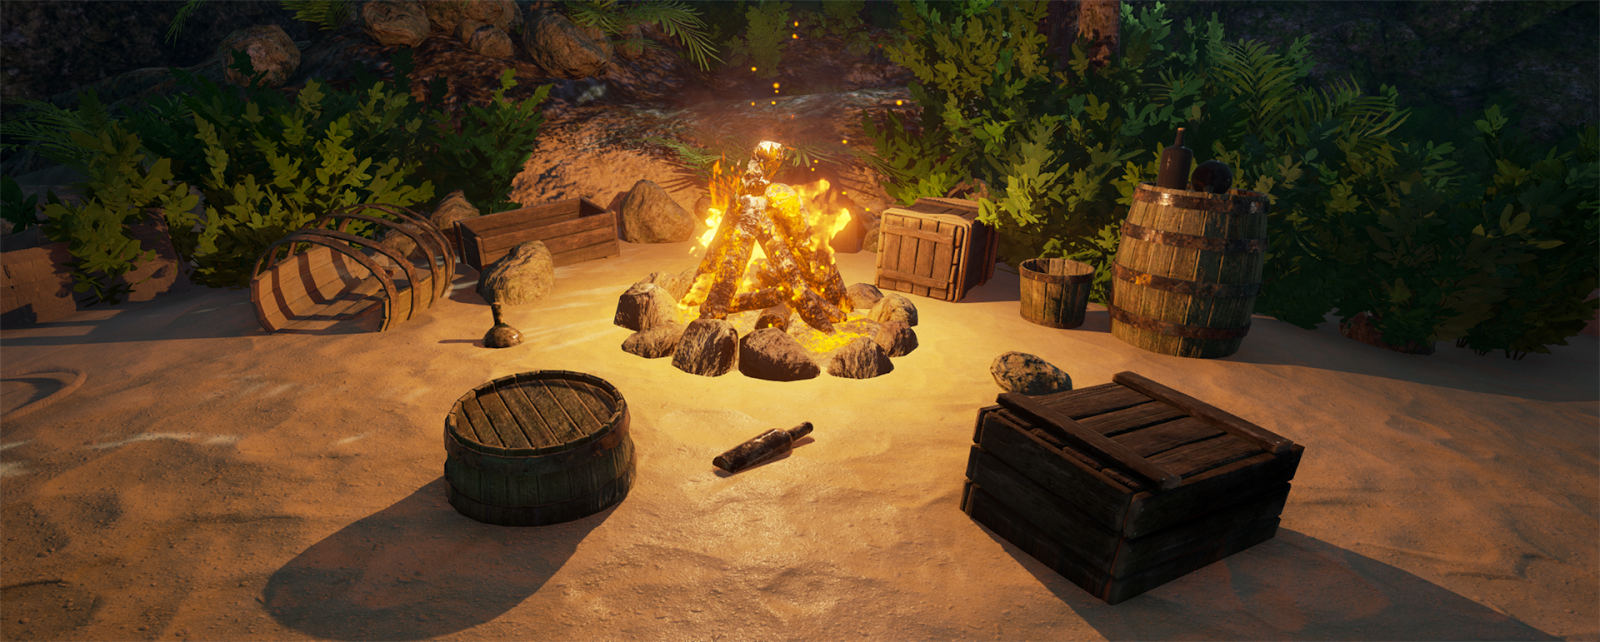
This is the final week of the project and my focus has been on finishing the Pirate Cove. I created a video of the final version to both use for the university exhibition and also for my portfolio,which now have been updated with the latest images and this video. 

I have also shared my work on social media to both increase my presence and also hopefully get some feedback that I can apply to it after the hand in. After just a few hours of it being up I have received 500+ views on Youtube and lots of great response! My environment got very quickly into the trending section of ArtStation which was a delight to see my scene around so many other beautiful environments!


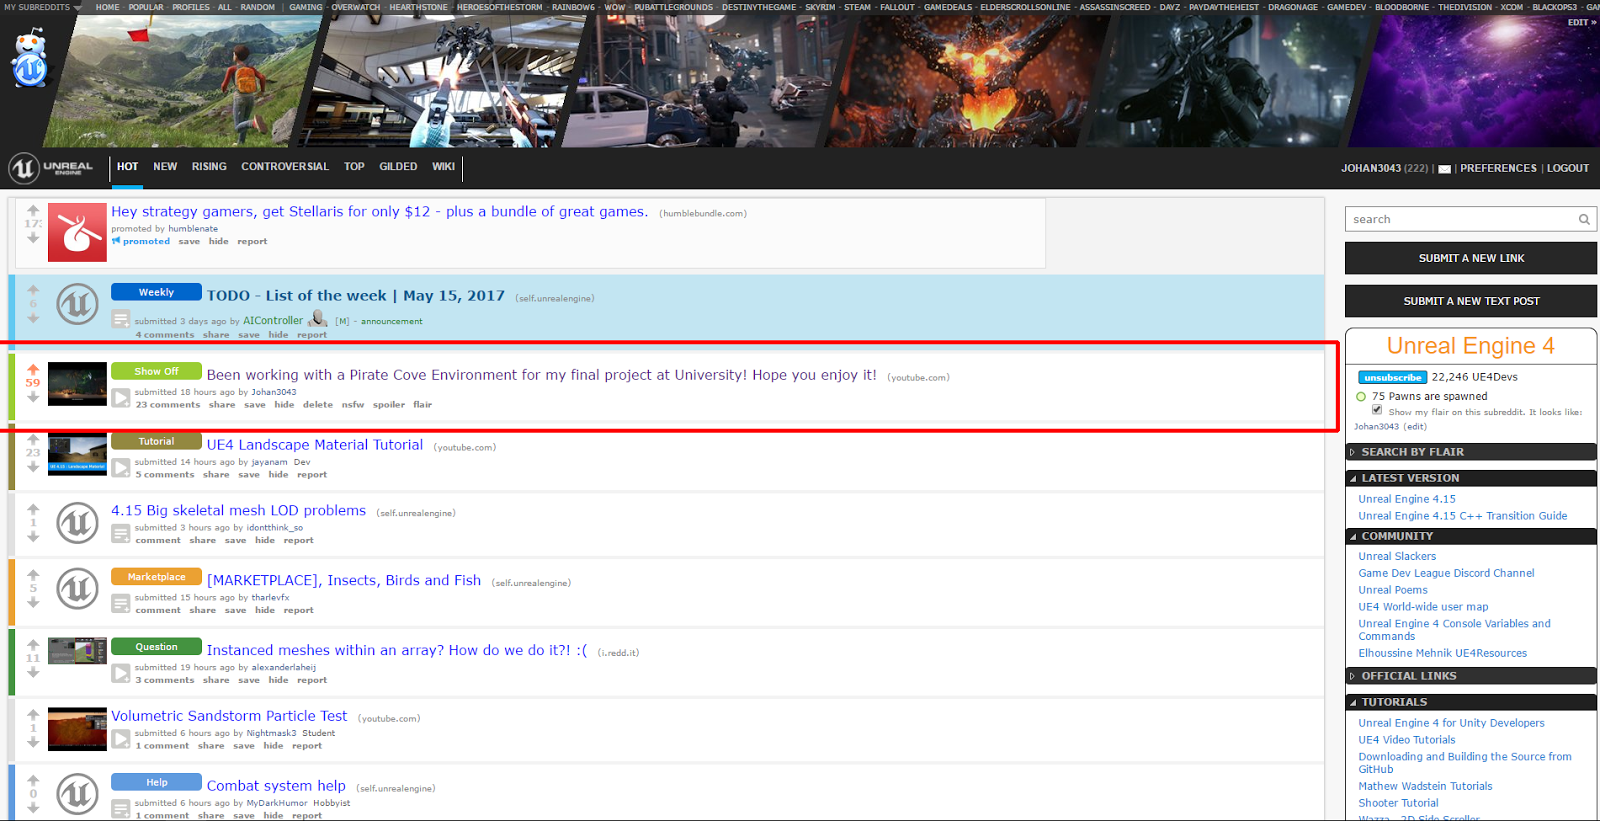
I also decided to create a post on the official Unreal Engine subreddit and this was definitely a success! At the point of the following screenshots it had just been up for almost a day and it already has loads of great comments and it's on top of the 'hot' section!

Reddit Post: HERE


Self Evaluation

This has definitely been one of the most interesting projects so far and the reason why I think that is because what I have been doing exactly what I love to do within this industry, which is creating environments. 

I am very pleased with the outcome of my pirate cove and it was great to finally make an environment where I could apply all the techniques I’ve learnt over the last couple of years. As always there are things that could be improved, but all the mistakes I have done with this environment I see as a lesson for my next environment where I won’t be repeating the same mistakes. If there is one thing I have learnt from my 10 years of working with 3D, it's that you definitely learn from your mistakes in this industry. 

I ended up changing a lot of the project but that’s because as always, when I plan projects I tend to think way to big and gradually narrow it down to something more realistic. This definitely applied to the project as well and is something I have to get better at. Although I do believe that it’s better to overthink something than to restrict yourself too much into a small scope. 

I believe the approach I chose to create the environment as if it were a dungeon in a game such as The Elder Scrolls: Skyrim really paid off. It made the whole level feel like it fits more into a game and therefor gives the whole environment a more familiar style, I have had multiple people tell me that they can definitely imagine it inside a video game and that makes me feel like I have accomplished my goal.

Unfortunately I had to do a lot of sacrifices during the creation of this environment, but this is to be expected when the quality I wanted to reach would be the same as modern AAA titles. While they have multiple experienced people working over the course of a number of years, I am a just one person with 7-8 months’ time. The areas that got hit the most were unfortunately optimisation and game-play. While the environment is running smooth on my machine, it does require a rather beast PC to run it at the moment. It was down to either focusing on it being high quality in the time I had or optimising it, I choose the former since that’s the most important of the two when it comes to a portfolio piece. When it comes to game-play I decided to take out that part completely. The reason for this is because when applying to jobs, the odds of a games company to actually download my environment and walk around in it is super low so it was much wiser to spend my time on enhancing the quality of the environment instead. I am definitely glad I made this choice.

Overall this project has been a great experience and it was such as pleasure to spend a longer period of time on creating a larger piece of work than just single assets. I was very fortunate to receive invitations to multiple interviews in the games industry and I am SUPER excited to start my new adventure as an Environment Artist Intern at Rare LTD. This has been a great way to finish my time here at NUA and I believe that this environment is a great summary of all the skills I have learnt from my 3 years of studying. 

Monday 15 May 2017

BA3b - Week 11/12 Summary


BA3b Week 11/12 Summary

As I brought up in the previous blog post I have decided to merge these two weeks into one blogpost since all my focus have been on level building and I felt it would make a lot more sense to just make one blogpost with all the updates to the areas. I choose to focus on purely level building since previous weeks focused too much on asset creation and expanding my environment but it's now time to reword each area at a time to raise the quality bar of the entire cave. Now afterwards I am super happy I decided to do this because the cave now looks so much better and complete than it did previously.

This blogpost will be very image heavy rather than text because my process is pretty much building with what I have while looking up various reference images to get ideas of how to make areas more interesting. One thing I really wanted to bring forward was the feeling that pirates inhabit this space. So therefor I added lots of random rope everywhere and also decided to use Marvelous Designer to create some cloth roofs and a set of crates covered with cloth.

Marvelous Designer

Final models in Marmoset Toolbag 2

I also created a water wheel by using the plank set I made a while back.


For the entrance/continuation of the cave I decided to take the approach that Skyrim uses for many of their cave environments. Basically what they do is just adding a white/blue shine and when the player walks in there he teleports out. Here is a picture to better describe what I mean:

Cave Exit/Entrance in The Elder Scrolls V: Skyrim

And here is how I implemented it into my cave.


As I mentioned earlier, it was either doing this approach and raise the quality of the rooms I have already or expand the cave and make a entrance/end but not have time to focus on the rooms I already created. If I had more time I would of course make a entrance and a end to the cave but this had to do for now.

Anyhow, here are lots of images of how the environment look now after spending 2 weeks focusing on finishing the level and raising the quality to where I wanted it.


Monday 1 May 2017

BA3b - Week 10 Summary


BA3b - Week 10 Summary


Rethink parts of the project

Since we only have a few weeks left of this project I have been thinking about what I really want to achieve with my environment. I have decided to not create an entrance/ending for the cove and just focus on the parts I already have. The reason for this is because instead of just expanding the cave I now can spend the next two weeks on pure level design and focus on increasing the quality of the areas I already have rather than just expanding the cave further. Because of this I will be merging week 11 and 12 to a single larger blogpost which will purely be level building. I have also decided to make my showcase for the graduate show a video of the environment rather than a playable area. This is because of several reasons. First of all it lets me focus a lot more of my time on increasing the quality of the environment rather than making it playable. It also allows me to control more easily what the viewer will see and can spend extra time making these areas look as good as they can. And since I don't have a lot of time to spend on optimisation for my cave I don't have to worry about it running poorly on the University computers.

Asset Creation

This week I spent doing assets that I felt was a must have for the environment, since the next couple of weeks I will be spending on level building rather than creating more assets. I started off by creating a cannon.

My process for this asset was to create a high poly/blockout. The reason why I say parts blockout is because a lot of the parts on the cannon are made out of wood so these parts I will sculpt in Zbrush, the cannon itself however I will model in Maya.


I then brought it into Zbrush to sculpt. Since some of the parts will be symmetrical I did not sculpt all of the wooden parts because it would require too much UVW space and also it saves me time to make parts symmetrical that you wont notice. 


I then created the Low poly in Maya and after that I used Substance Painter to both bake and texture the cannon.

Bake Results in Marmoset Toolbag 2


Texturing in Substance Painter

Final Result in Marmoset Toolbag 2


And here are some final images of the cannon in the environment, the placement of course are not final and just placed randomly to take these screenshots.


With the canon done I then created a shovel and a pick axe just to have a few more assets to spread out the cave and having these tools scattered around the place makes sense. These were easy assets to make and here is a few photos showing the process.


Here is a render of the props in Marmoset Toolbag 2. I decided to make a quick spyglass as well. It wont be used frequently around the scene but still another asset just to break up the repetition a little bit. The cannon balls share the same material as the cannon just to speed up the process a little bit


In addition to a merged cannon version I also imported a split version so I could spread various canon parts around the cave (As seen below).


Monday 27 March 2017

BA3b - Week 9 Summary


BA3b  - Week 9 Summary

To start off with I have amazing news this week! I got the job at Rare! I will now be joining Rare LTD as a Environment Artist Intern starting from July! I am SUPER excited about this and it's an amazing feeling to finally enter the industry that I have been chasing towards since I was 13 years old!

Sea of Thieves, developed by Rare LTD

On the pirate cove the progress I made this week was to replace the awful placeholder rope bridge that has been there way to long and also more level building. 

Placeholder rope bridge

To create the new rope bridge I used previously created assets. I imported the planks from the construction kit created in the last blogpost and used the rope texture I created a while back.


I now used soft select to bend the bridge and add the "Gravity" to it. I then added hand bars and also added a bit of variation to the planks to make the bridge a bit more interesting.


And here are some screenshots of it in the environment.


While watching the show 'Black Sails' I saw an asset which I thought would really fit into my pirate cove and that was a Lantern. I needed more light sources so figured i'd create it. A quick google search got me to the actual creator of many props for the show and I found the lantern!

Lantern prop used for the TV Show 'Black Sails'

This was a very simple and straight forward prop to make. As usual I first created the High Poly to later bake onto a LP and then textured it here are some images of the process.


Finished lantern rendered in Marmoset Toolbag 2

Lantern in my environment


With the lantern done I then decided to create one of the most classic pirate assets there are. Rum bottles. I found an image online that had a lot of various interesting shapes so decided to just use them as a reference.

Reference Image


Finished bottles in Marmoset Toolbag 2

I tried to create a version with a label on as well but it felt really fake and when watching pirate films/shows there are never any labels on their rum bottles so it made more sense to just leave it without one. I also created a green and a brown version of the texture to add some variation to it.