BA3a - Week 7 Summary
Task 3
With the high poly done and sculpted I now focused on creating the low poly and baking. Since we I have another week after this to create the texture I figured I would leave it there and focus more on my pirate cove this week. Anyhow here is how the low poly turned out, it was very easy to create since the shapes are so simple and I could also use many parts from my high poly base that I used before sculpting and remove polygons to create it into a low poly.
Final Polycount: 2217
The bake again was a exploded bake because it had a couple of intersecting pieces. The bake turned out very well and there are lots of information in the normal map that I can use for the final texture!
Creative Practice
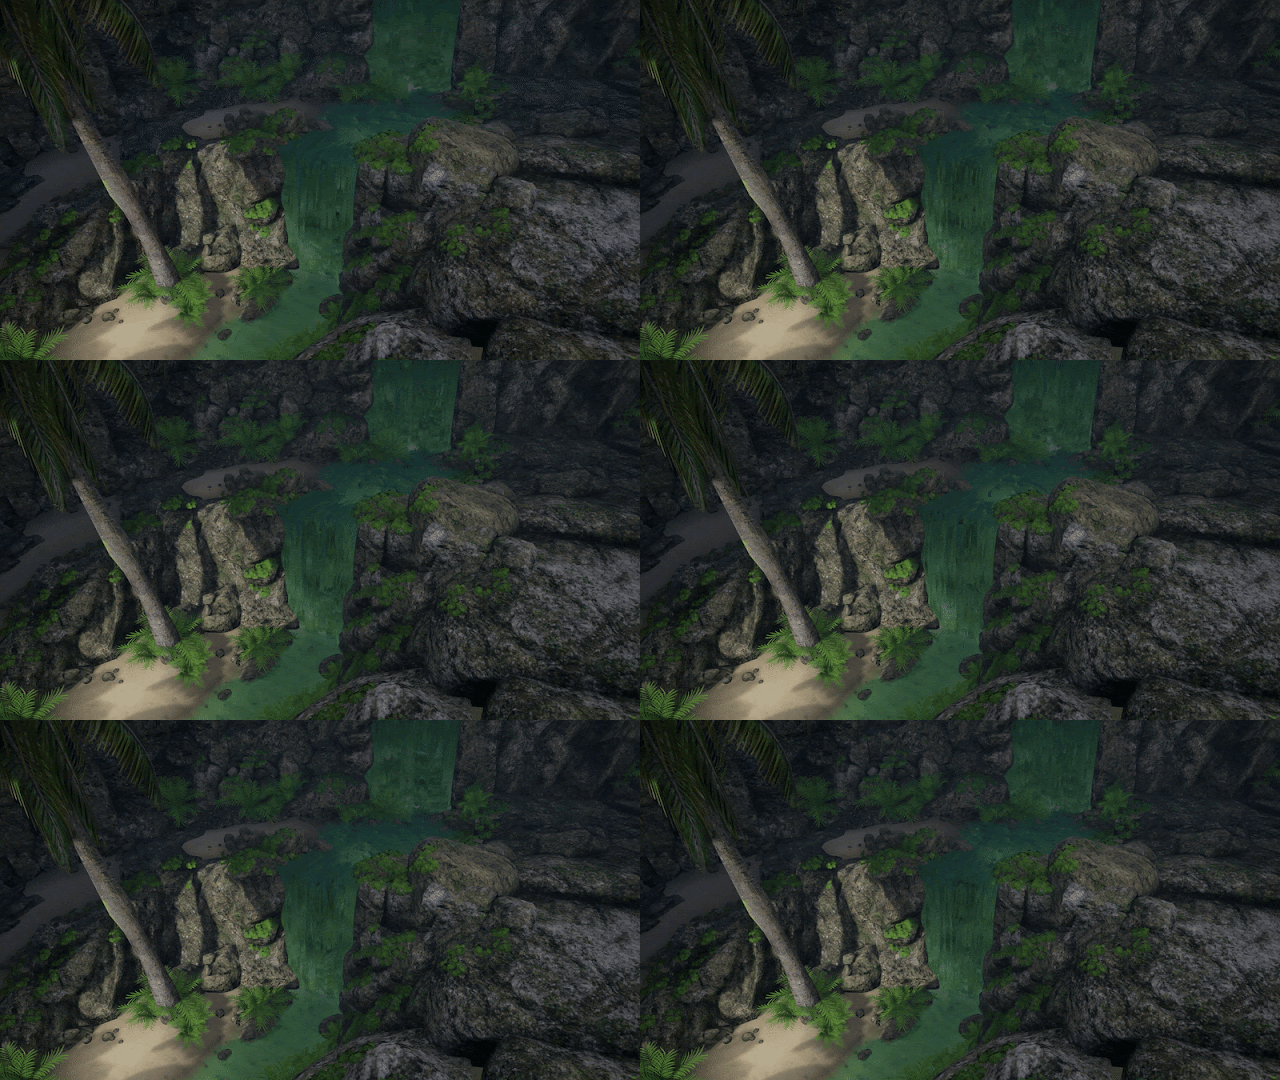
This week I did lots of progress on the new room while also doing lots of adjustments to the water to allow me to create waterfalls! They aren't anywhere near final but it was great to figure out how to make moving water and also i based it on the original water texture which made it blend in very well! Here are some images of how the scene look like now.
So how did I create the waterfall? Well to start with I had to figure out how other games make their water to move. I knew that the free asset pack from the unreal market "Infinity blade asset pack" from Epic Games had a fountain water texture which was moving so I downloaded that and searched trough the material for exactly what caused it to move. That's where i found the Panner blueprint box.
I figured that by using this 'panner' technique on my already existing water I should be able to create a moving version that will blend into the still water well. Here is an image displaying how i added the panner to a duplicate version of the normal water texture.
This made it work but it created an issue as well. Now where the water started moving there was a really noticeable seam (Especially in movement)
To solve this issue I attached a alpha to the opacity map that was a faded circle, this way it will both blend in and out and work sort of like a decal would on top of the water.
Seam gone!
To make this into a water fall was simly a matter of increasing the speed of which the water should flow. Here is the result when I blend these two together to create a waterfall!
However, right now it does look rather unnatural without any white in the waterfall etc. I will improve on these for next weeks blogpost!
I also as you might seen in the photos already revamped the roof to let in sunlight for the palm tree!
Up next I created another plant using Speed Tree! This one was a tropical leaf bush which will come very handy to fill out many of the empty spots.
And here is an image of how it turned out in engine!
I also added so i now can draw sand on top of the rocks with the help of vertex paint! I used the same technique used for task 1 when I had to blend between the two different textures, the only difference now is that I also added a noise alpha to give the ends of the sand that grainy look to it instead of it just falling of in a circle. This makes it a lot easier for me to blend the rocks with the sand!
I have also added a decal that added a bit more variation to the sand by making it look as people have walked there. I will create another decal with a bit more footstep details etc but it already looks a lot better! I created a decal that only affects the normal map of what ever it's hitting to create this effect.


No comments:
Post a Comment