Monday 28 November 2016

BA3a - Week 10 Summary


BA3a - Week 10 Summary

Task 4

This week we received our new task which was to work on our professional online presence. This means creating a Portfolio and updating our LinkedIn profile. 

The brief follows: 'For this TASK, you will need to create a professionally-facing portfolio website and upload a selection of work to present to potential employers or clients. You can create a website from scratch but are be advised to consider using a pre-existing platform such as ArtStation, Wix or SquareSpace. DeviantArt is not recommended.'

I already had an old portfolio created on 4ormat but since it was rather old and I have wanted for a long time to update it from scratch so figured this would be the perfect opportunity to do so. The website I used to create my portfolio is Wix which is a great place to create professional looking portfolios. 

We got two days on this task but for me it took a while longer since I also wanted to update all my work with new better renders and also create a professional resume so I could start applying for internships/junior positions right away after finishing this task.

To visit my portfolio you can click the following link: http://www.johanlagesson.com/


My resume can also be accessed from that website. 

And here is my updated LinkedIn profile which can be accessed trough this link: https://www.linkedin.com/in/johan-lagesson


My focus was to finish this task and to continue my work on the essay this week so unfortunately I could not get much done on the pirate cove as i'd hope. However, since a portfolio is super important to get right I figured i'd work on it until i was satisfied instead of just rushing one together and it paid of in the end.

Monday 21 November 2016

BA3a - Week 9 Summary


BA3a - Week 9 Summary

Creative Practice

This week we did not have a task to complete so my focus was entirely on the Creative Practice project while also writing the 5000 word essay. 

To start off with I created an additional asset that I could use just as placeholder to enhance the environment and that was just a simple plank. I sculpted the details in Zbrush to get that old used feeling of it.


I then after baking it brought it into Substance Painter to texture it, I added some green to the plank as well since I want it to look like the vegetation around have spread into the wood as moss, just to give it that overgrown feel.

Texturing in Substance Painter

And here is the result in engine! 


On top of adjusting previous locations I also added a small extra pathway to further extend the cave.

The new pathway is the entrance at the far right


This week was mostly spent on the essay thus not as much progress with my pirate cove unfortunately but I still managed to polish a lot of the old environments with some additional assets etc.

Monday 14 November 2016

BA3a - Week 8 Summary


BA3a - Week 8 Summary

Task 3

This was the final week to work on Task 3 and I am rather pleased with my result! I do believe that more can be done on the texture i had more time but for being my first asset ever created in this way I think it turned out pretty good! My texture process was a combination of using 3D Coat and Photoshop. Since I had never used 3D coat before this was a new software I had to learn so I followed the awesome tutorial created by ex Blizzard employee Marc Brunet where he goes trough step by step how he creates a hand painted character.


It was super helpful and made me get a basic grasp over how 3D Coat works. However I think I ended up using Photoshop a bit too much but I suspected as much since I have a lot more experience in it. 

To create the base paint material I followed the same example as in the tutorial. First grab the green channel information from the baked normal map, then mix a generated curvature map made in Crazybump with the baked one. By combining these 4 maps + the AO bake the result will be a good base to start the painting and all the information from the zbrush sculpting will be there.


The result of combining all the various maps into one base paint map

Low Poly chest with above texture applied

It was now time to add the paint to it. 3d Coat is a fantastic tool that allows you to paint directly on to the 3d model just like photoshop does with 2d surfaces! 

Finished Texture in 3D Coat

Final render in Marmoset Toolbag 2

Final Texture

In the end I was rather pleased with my result, I do feel however that more time could be spent on the painted texture but due to lack of time it will have to do for now! For my first try with this workflow I have to say it turned out rather well! It was a nice break from making realistic assets and I can definitely see myself creating hand painted assets in the future and hopefully improve my painting skills.

Creative Practice

This week I expanded the cave with another room. After watching the latest Disney title 'Moana' I got really inspired to create a room similar to one of the scenes in the film where there was a waterfall that sort of acted like one of the 'walls' in the cave. It was difficult to find an image of the scene since the film is yet to come out in stores but this is in the same scene.

Cave Scene from Disney's Moana

I started off by creating a rough blockout of the room to then polish and add further detail to it. Here is a early picture of the room.


I definitely noticed right away that I can't continue working on this room until I get the waterfalls more proper looking. So to start off with I again did some further research into how to make waterfalls for video games. To my surprise there aren't a lot out there about this subject. I however managed to gather some knowledge of how other have solved the issue, like this video for instance.


With this in mind I ended up creating my own solution where I created two noise alphas that when in movement will replicate the white shape the water turns into when it's a waterfall.


The following two images are the alphas I will use to replicate above effect.


After creating two materials with these above alphas and applying a panner effect this was the result:


It's a huge improvement since the previous waterfall but still not 100% there. I will improve it further as I progress with the environment. 

Since I lack a object to use as a light source in the cave except putting random scattered lights around I figured I would create a torch model. I tried using a placeholder stick but it ruined most screenshots so created a proper torch model instead. 

High Poly created in Maya

Low Poly with texture created in Substance Painter

As you can tell I saved in on lots of polygons by creating the top using alpha instead of creating each and one of the bits as geometry! The reason for this is because there will be particle effects in there anyway so the player wouldn't see any difference anyhow. Here is how it ended up in engine with the standard fire effect already available in Unreal Engine 4.


To further expand on the environment I created two vines in Speed Tree. I will probably replace the texture of these vines in the future with my own but for now I use a tileable bark texture from Textures.com.


Here is how the environment now look after furthering polishing it and also adding these new assets.


Monday 7 November 2016

BA3a - Week 7 Summary


BA3a - Week 7 Summary

Task 3

With the high poly done and sculpted I now focused on creating the low poly and baking. Since we I have another week after this to create the texture I figured I would leave it there and focus more on my pirate cove this week. Anyhow here is how the low poly turned out, it was very easy to create since the shapes are so simple and I could also use many parts from my high poly base that I used before sculpting and remove polygons to create it into a low poly.

Final Polycount: 2217


The bake again was a exploded bake because it had a couple of intersecting pieces. The bake turned out very well and there are lots of information in the normal map that I can use for the final texture!


Creative Practice

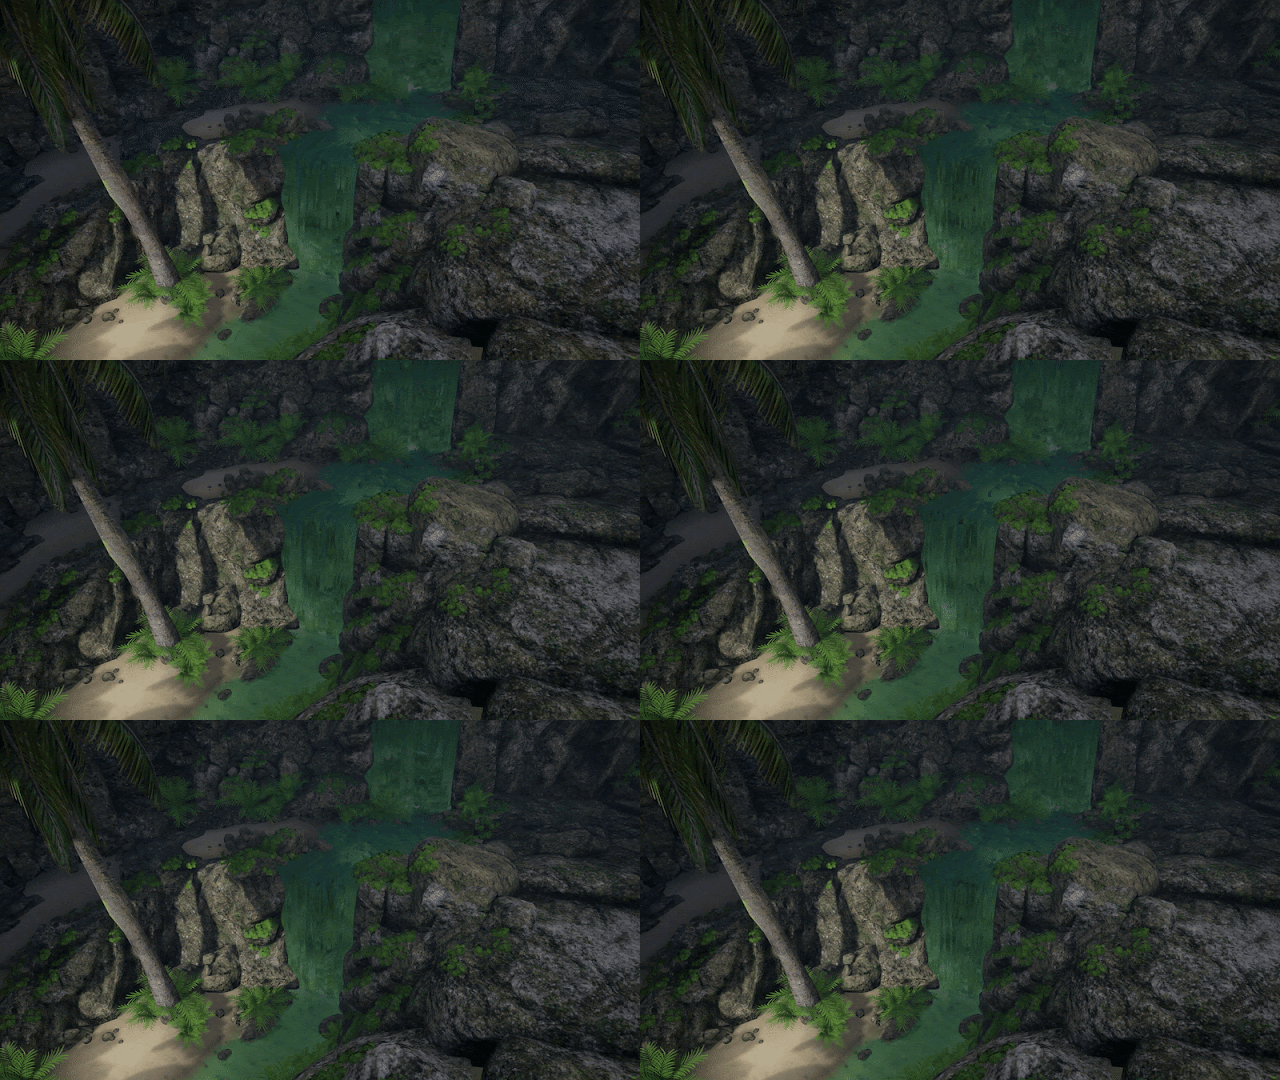
This week I did lots of progress on the new room while also doing lots of adjustments to the water to allow me to create waterfalls! They aren't anywhere near final but it was great to figure out how to make moving water and also i based it on the original water texture which made it blend in very well! Here are some images of how the scene look like now.


So how did I create the waterfall? Well to start with I had to figure out how other games make their water to move. I knew that the free asset pack from the unreal market "Infinity blade asset pack" from Epic Games had a fountain water texture which was moving so I downloaded that and searched trough the material for exactly what caused it to move. That's where i found the Panner blueprint box.


I figured that by using this 'panner' technique on my already existing water I should be able to create a moving version that will blend into the still water well. Here is an image displaying how i added the panner to a duplicate version of the normal water texture.


This made it work but it created an issue as well. Now where the water started moving there was a really noticeable seam (Especially in movement)


To solve this issue I attached a alpha to the opacity map that was a faded circle, this way it will both blend in and out and work sort of like a decal would on top of the water.


Seam gone!

To make this into a water fall was simly a matter of increasing the speed of which the water should flow. Here is the result when I blend these two together to create a waterfall!


However, right now it does look rather unnatural without any white in the waterfall etc. I will improve on these for next weeks blogpost!

I also as you might seen in the photos already revamped the roof to let in sunlight for the palm tree!


Up next I created another plant using Speed Tree! This one was a tropical leaf bush which will come very handy to fill out many of the empty spots.


And here is an image of how it turned out in engine!


I also added so i now can draw sand on top of the rocks with the help of vertex paint! I used the same technique used for task 1 when I had to blend between the two different textures, the only difference now is that I also added a noise alpha to give the ends of the sand that grainy look to it instead of it just falling of in a circle.  This makes it a lot easier for me to blend the rocks with the sand! 


I have also added a decal that added a bit more variation to the sand by making it look as people have walked there. I will create another decal with a bit more footstep details etc but it already looks a lot better! I created a decal that only affects the normal map of what ever it's hitting to create this effect.